Before
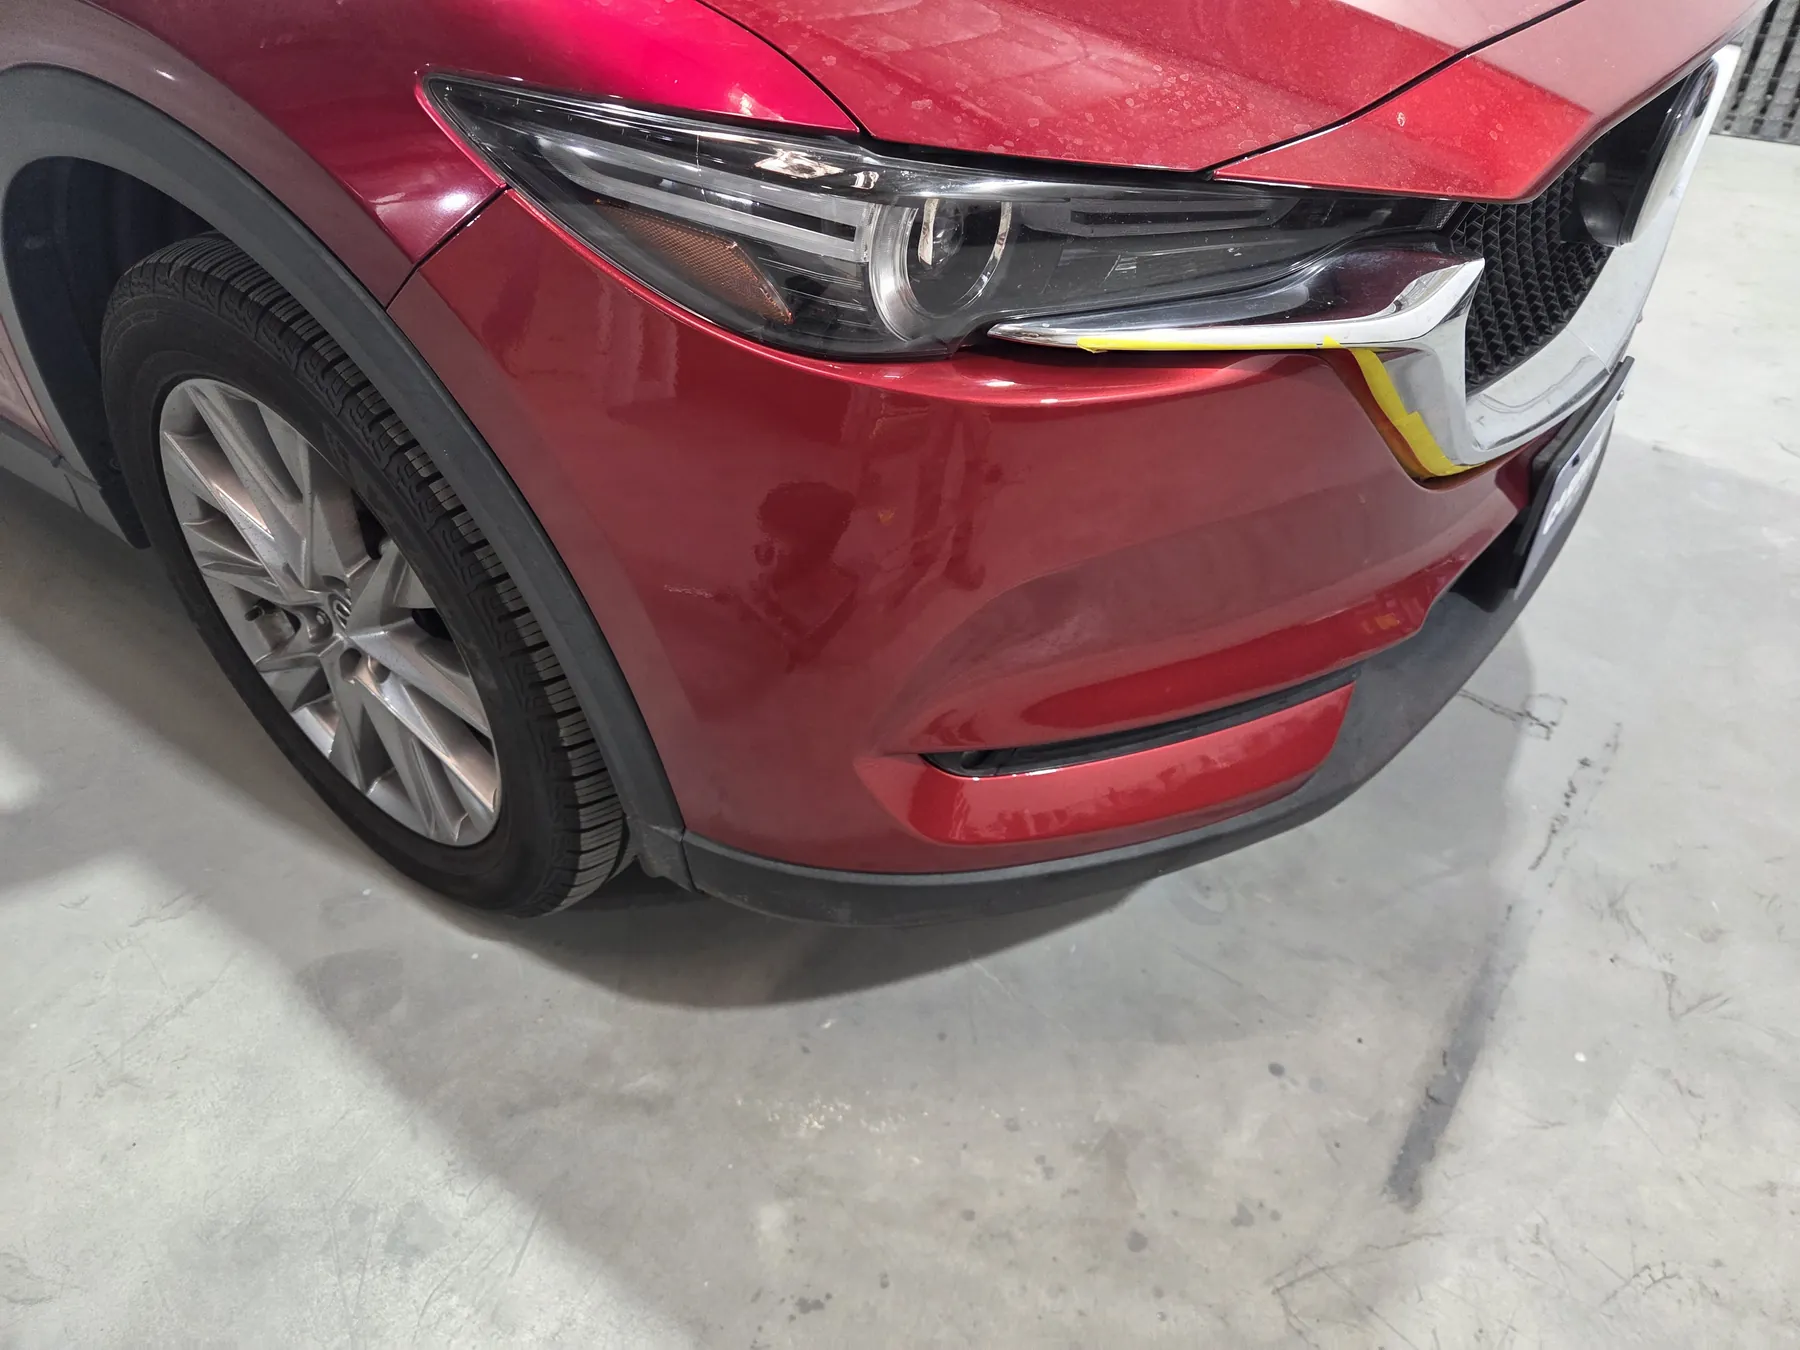
Visible damage establishes the starting point. A complete estimate still depends on inspection because hidden damage may not appear in a photograph.
Real vehicles, real shop work
See damage, preparation, refinishing, and completed repairs photographed at Mastercraft Auto Inc. The sequences below use only images that can be matched to the same vehicle and repair.
How to read the gallery
A finished surface depends on the work underneath it. These photos show different stages, including damaged bumper covers, surface preparation, masking, refinishing, reassembly, and completed exterior repairs.
Visible damage establishes the starting point. A complete estimate still depends on inspection because hidden damage may not appear in a photograph.
Preparation may include removing components, repairing the surface, sanding, masking, priming, and preparing the repair area for finish work.
The completed view shows the repaired shape, assembled exterior, panel appearance, and finish after the authorized work is performed.
Collision repair sequence
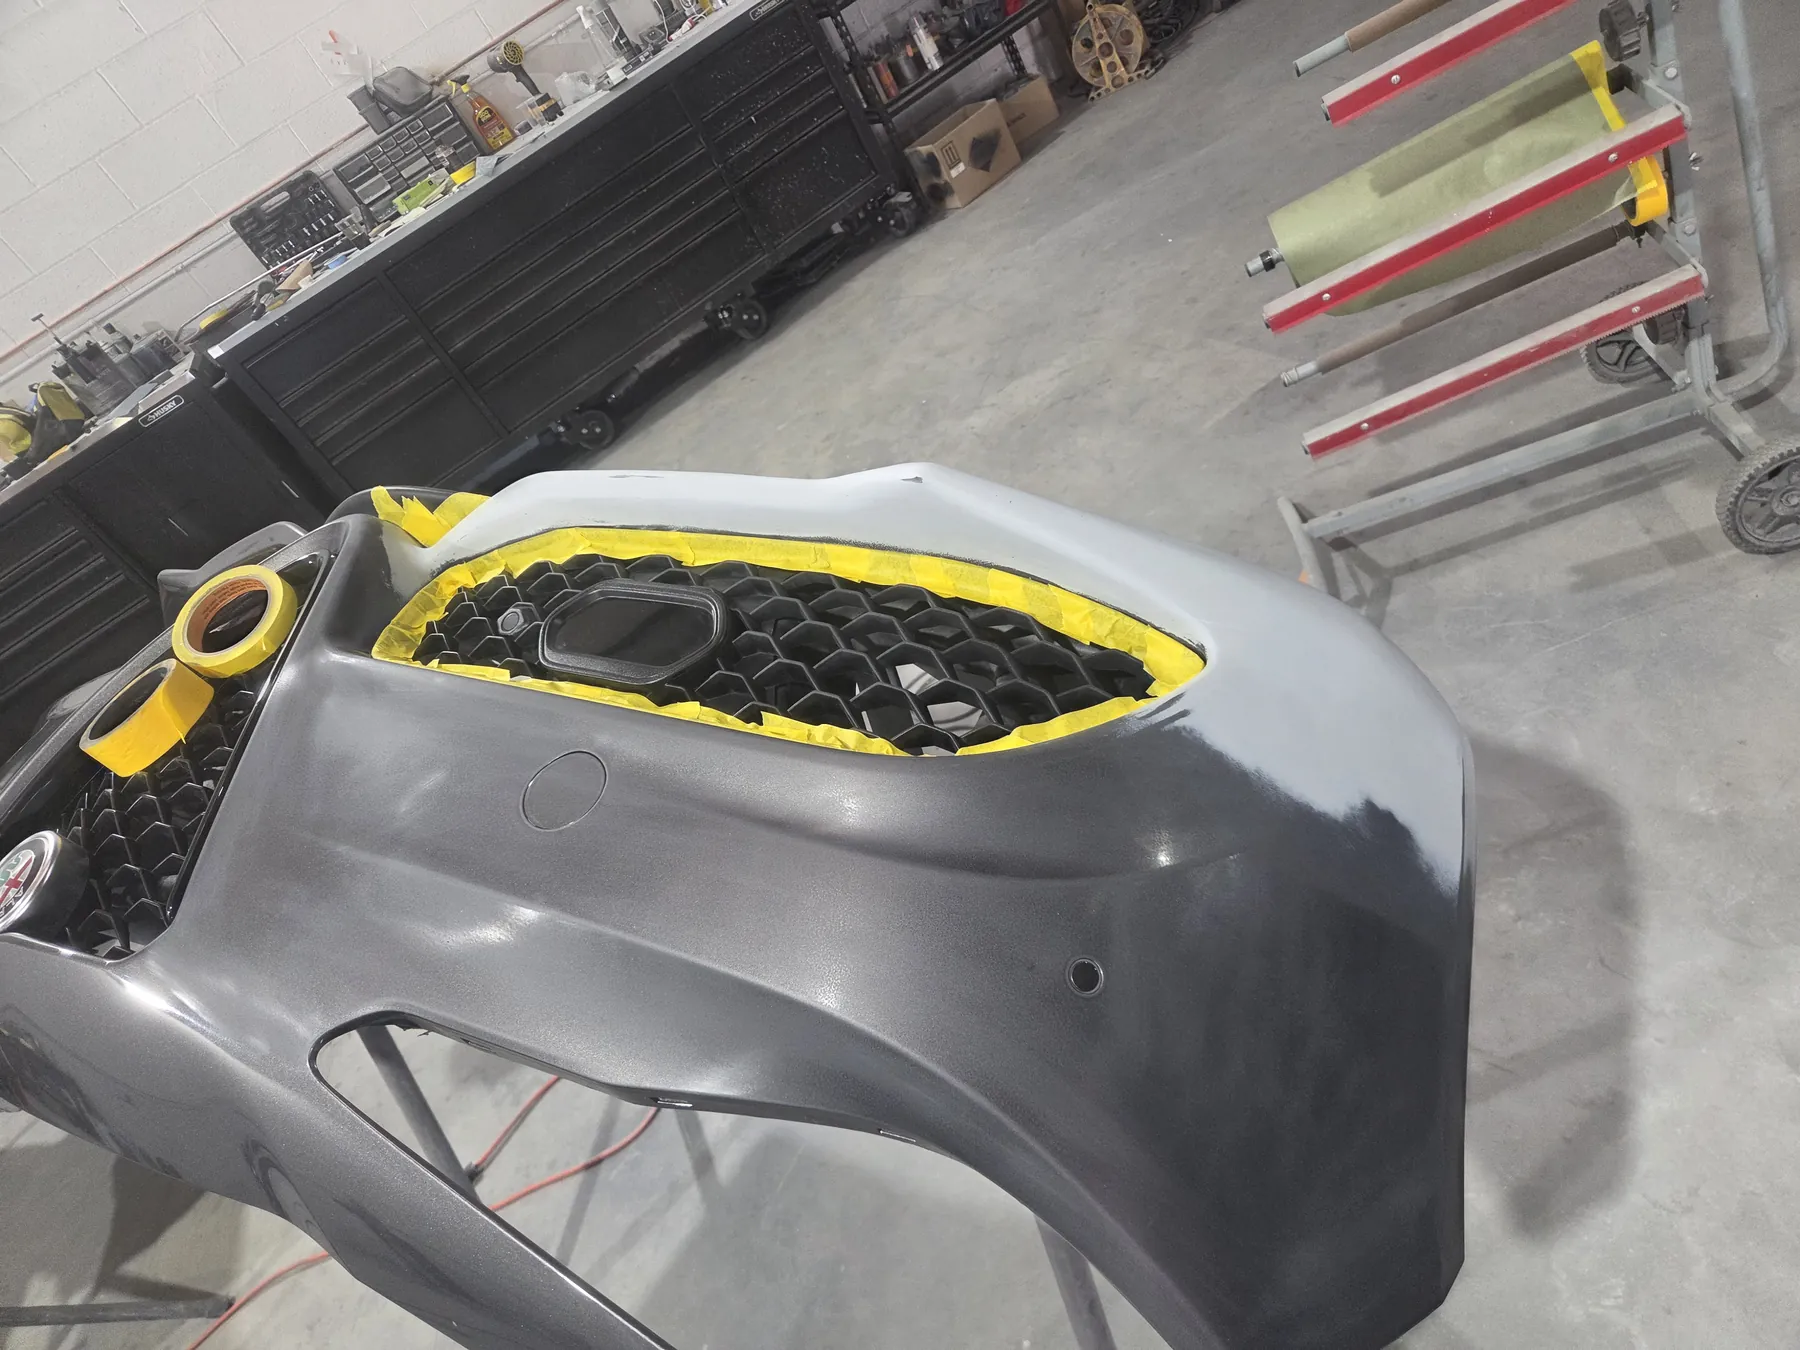
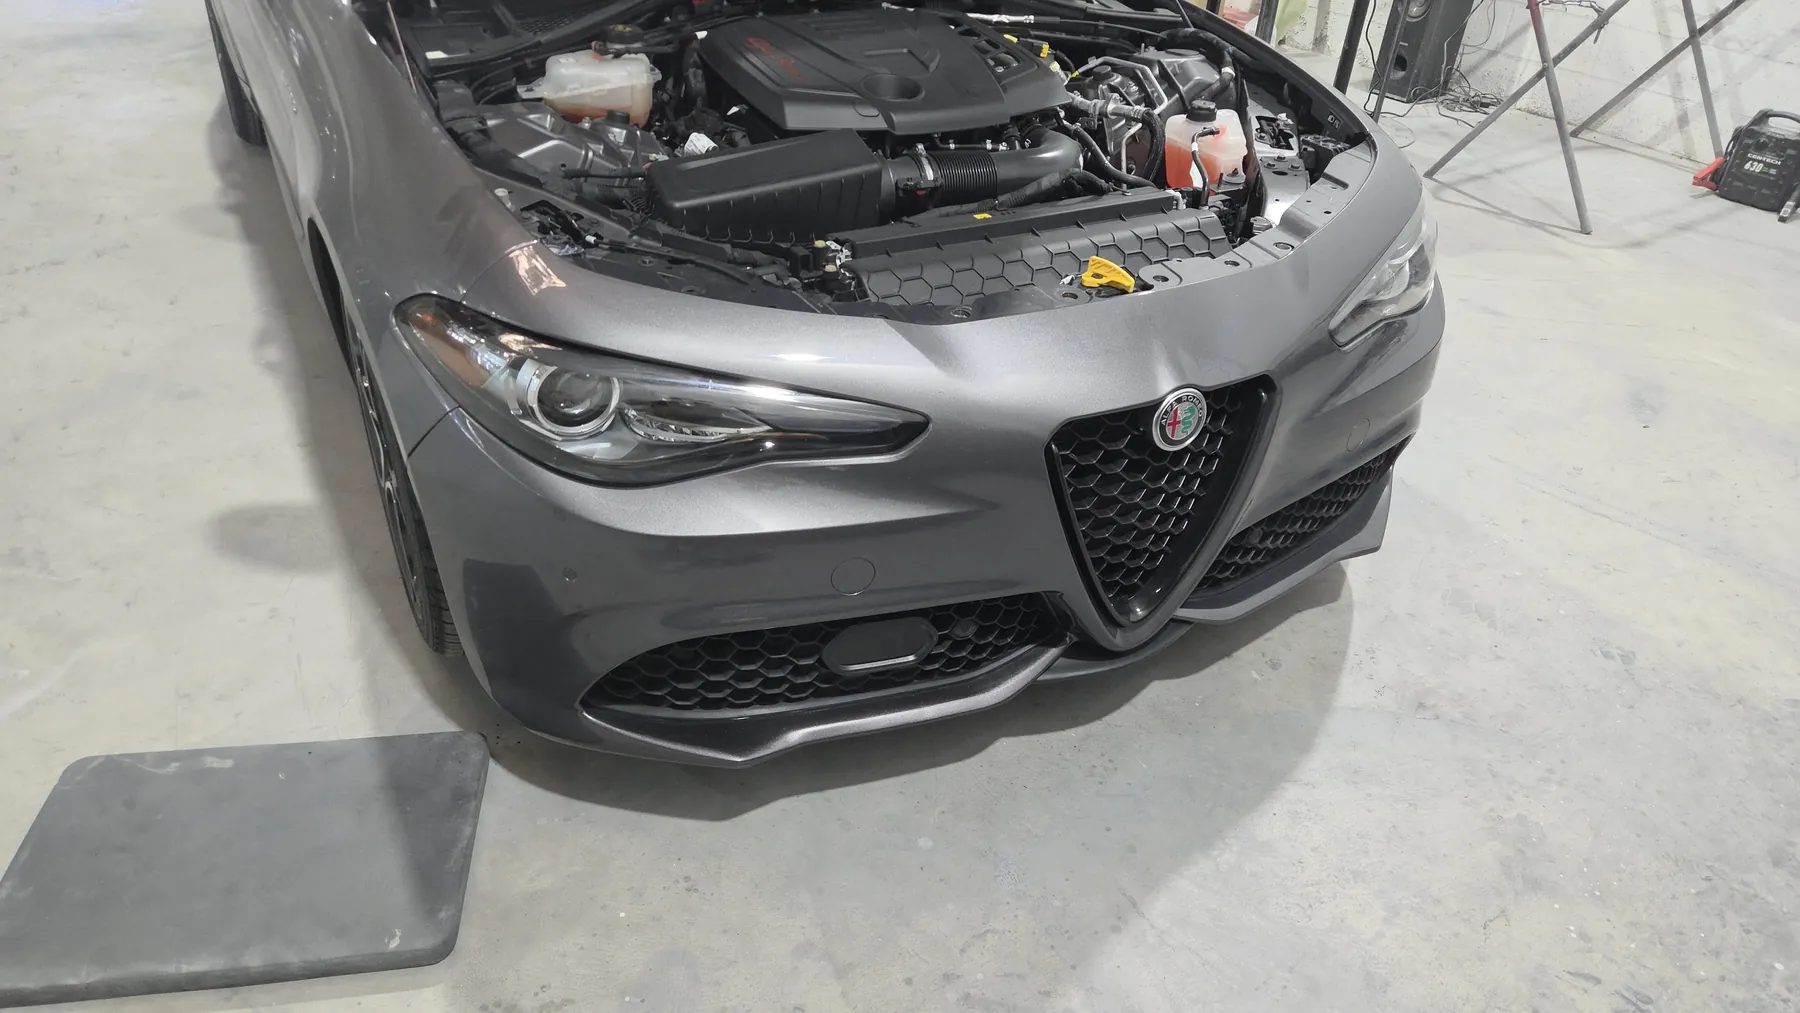
The front bumper began with cracks, scraped paint, openings in the bumper cover, and damage around the lamp area. The sequence shows the damaged condition, masked refinishing stage, and reassembled front end.
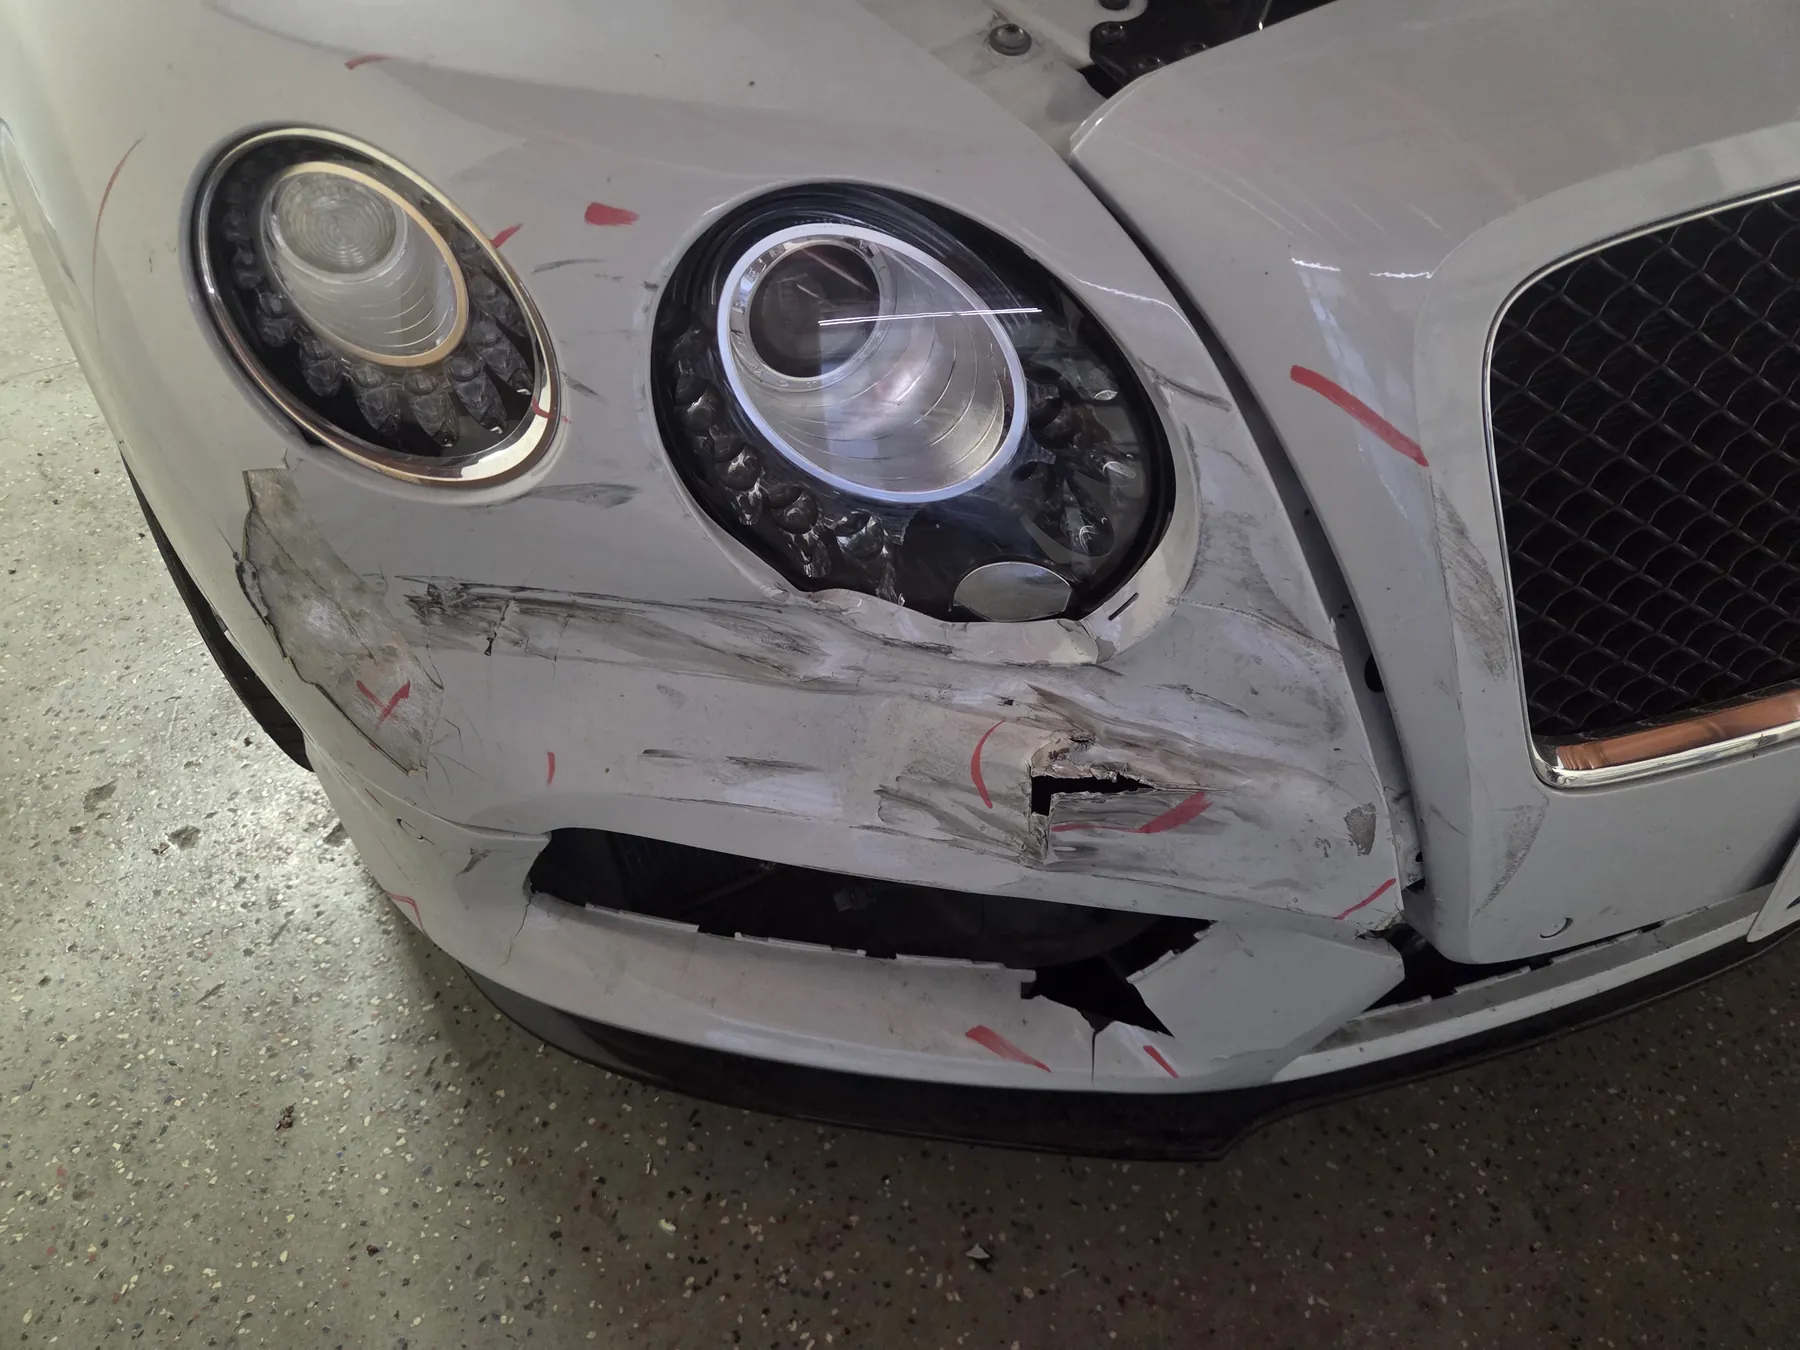
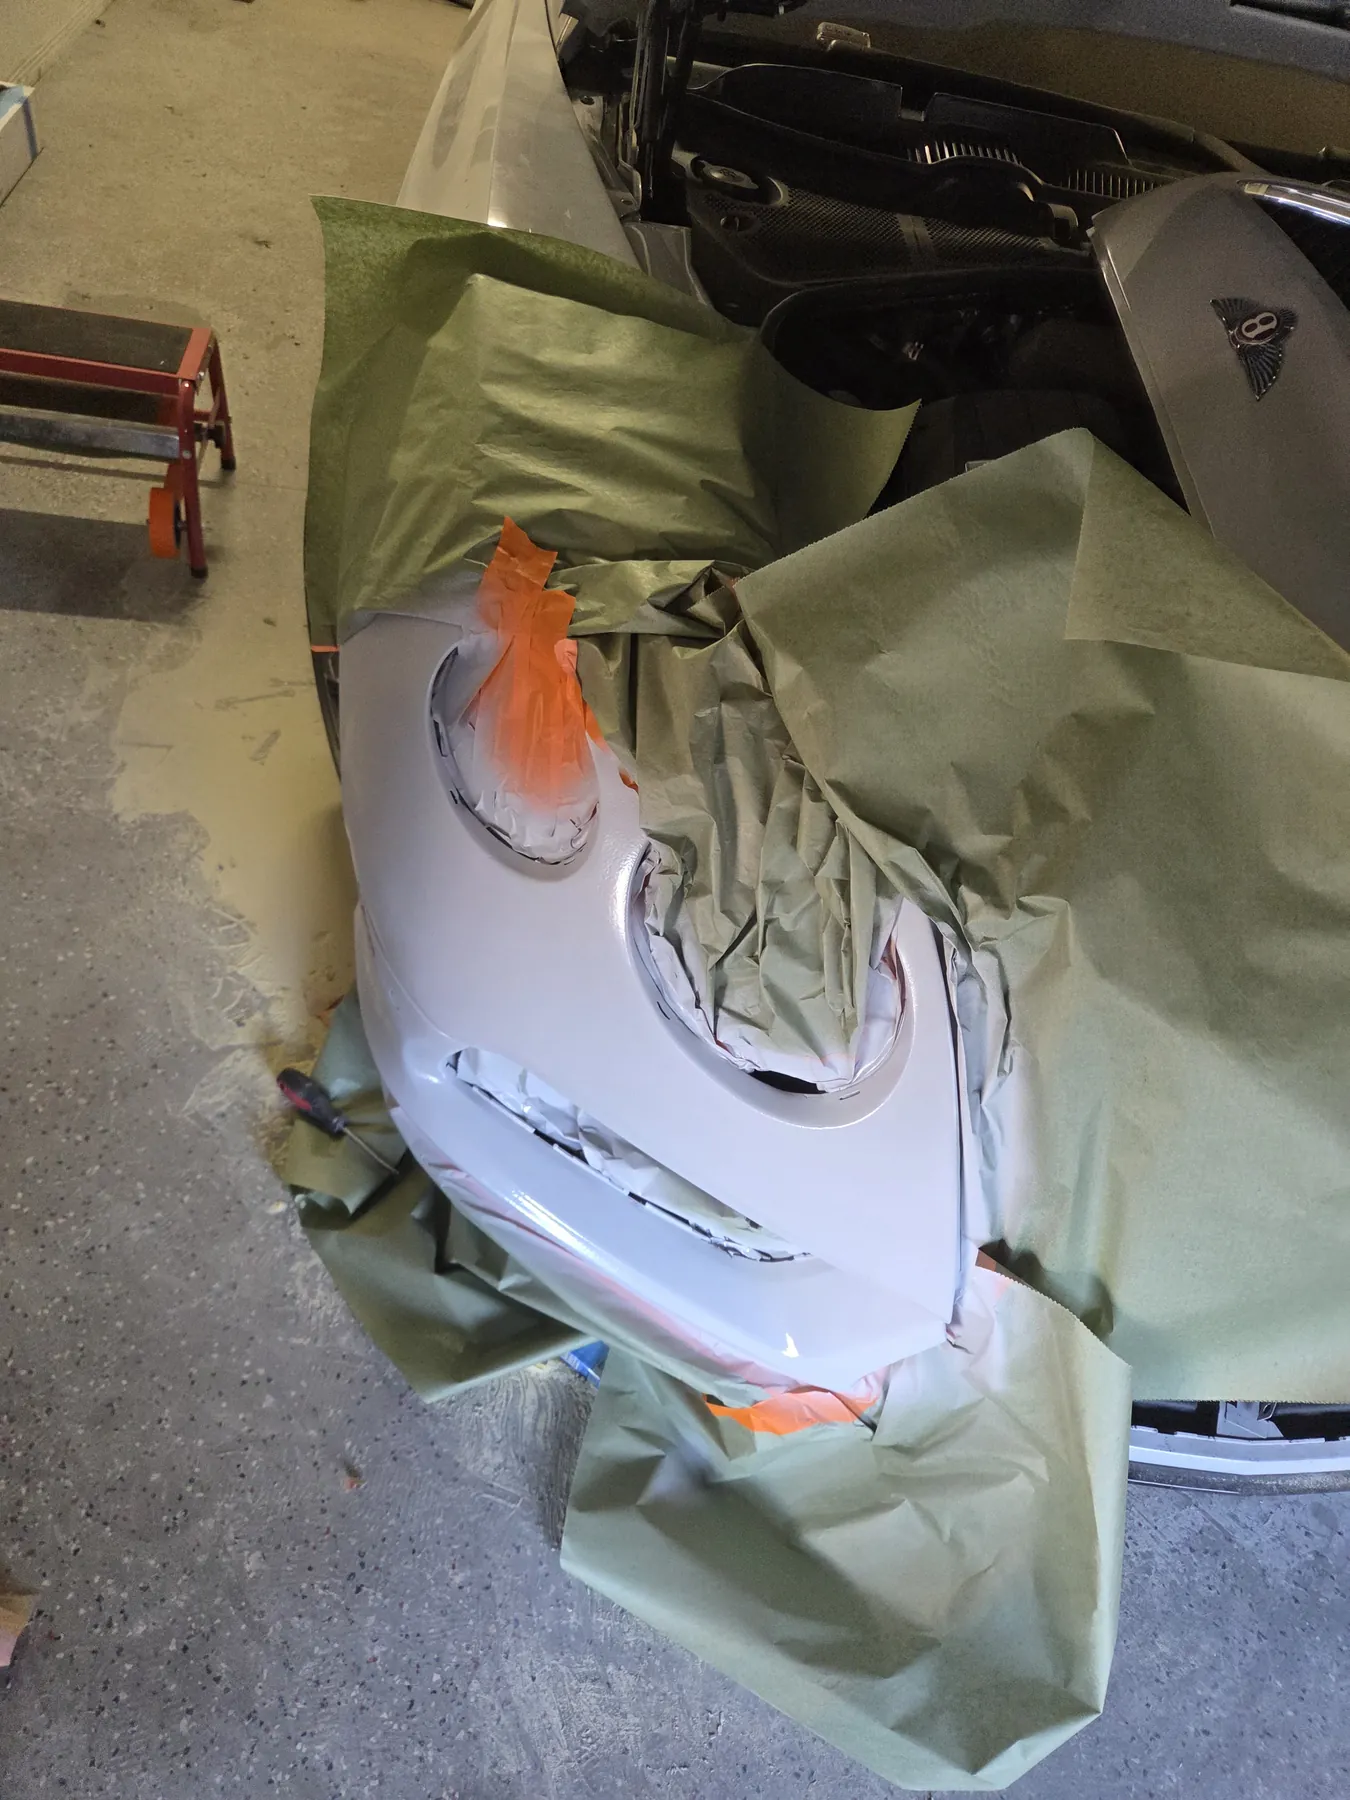
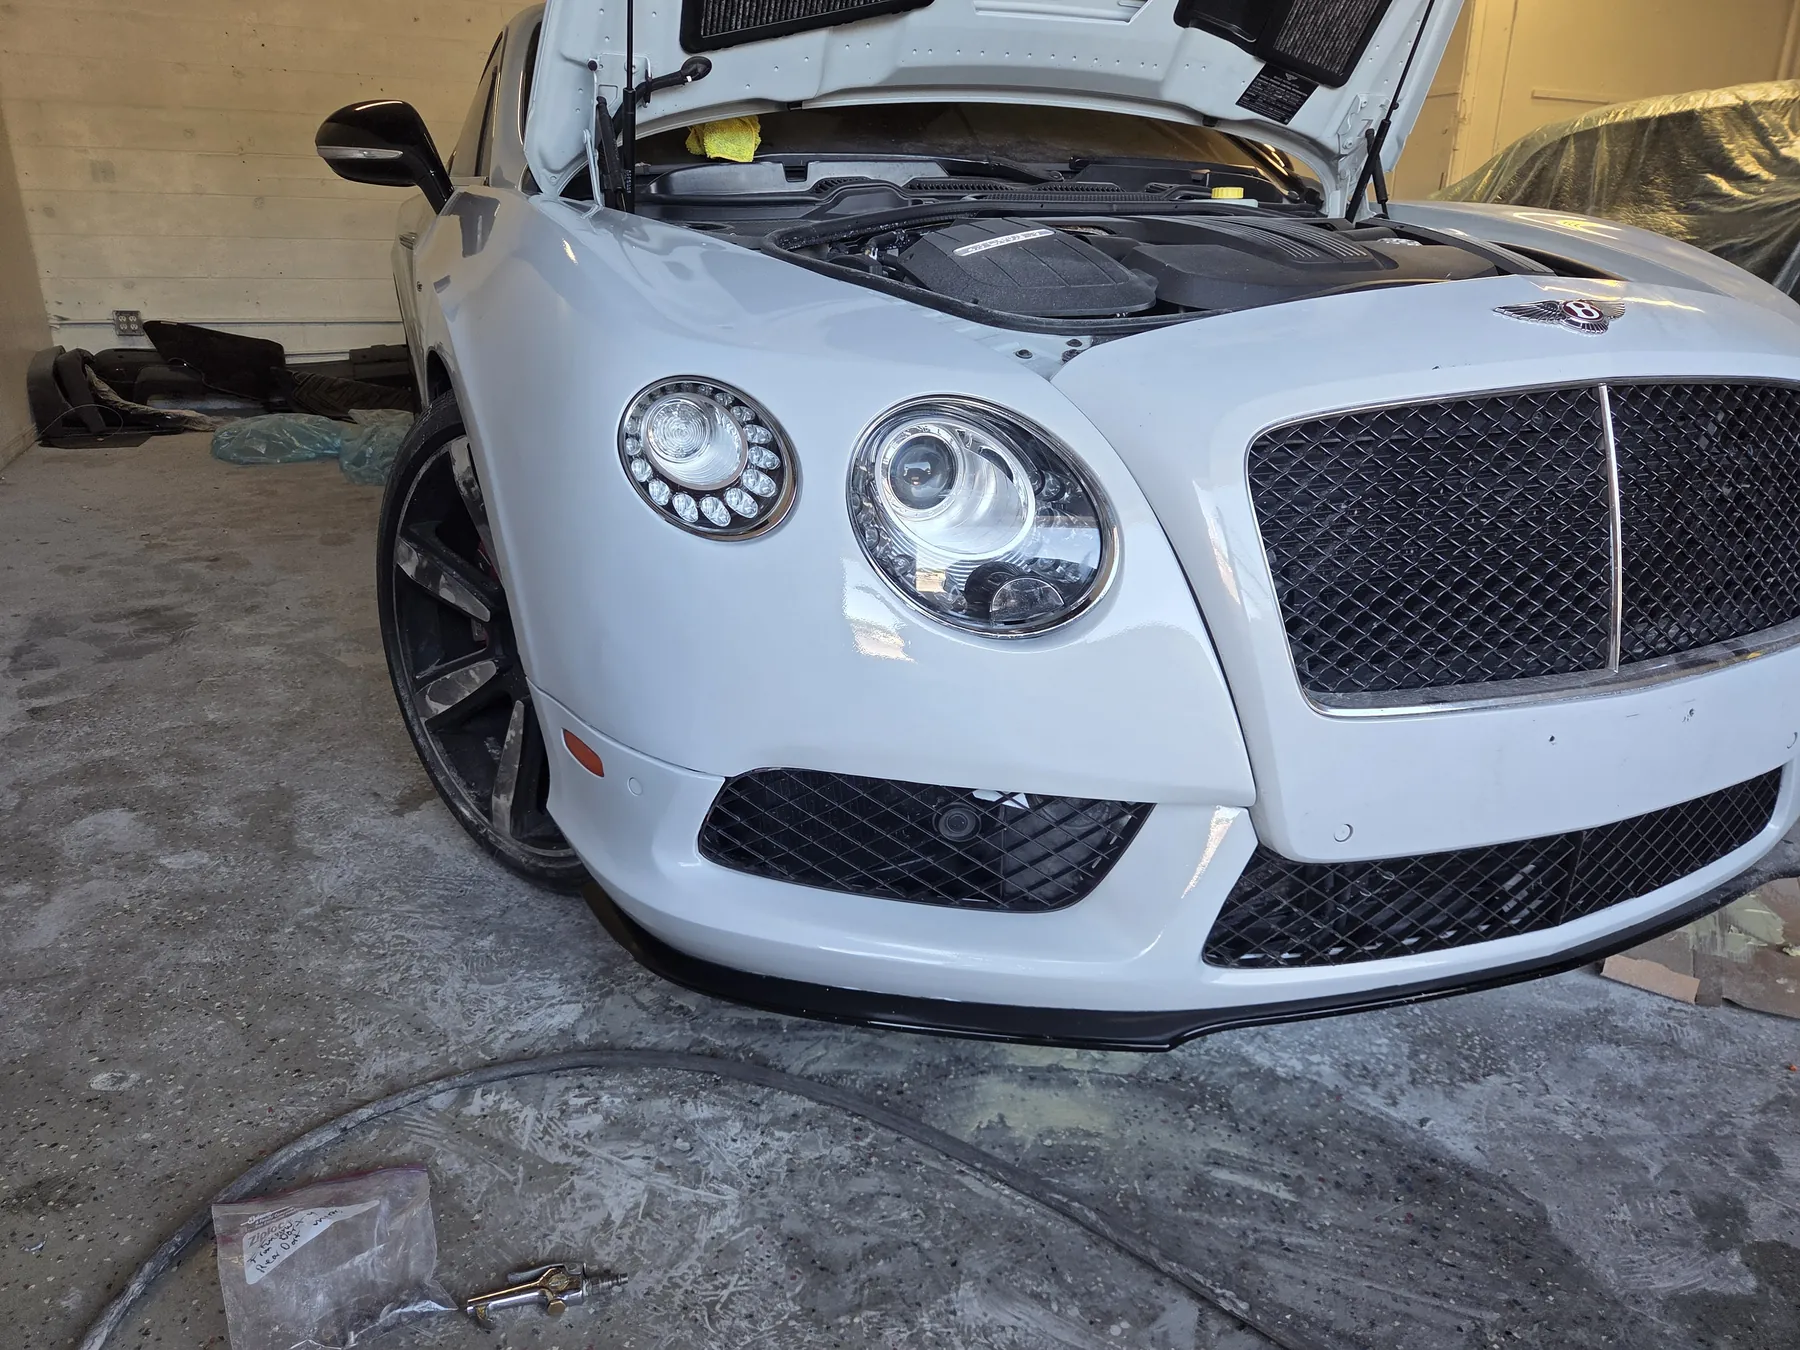
Bumper refinishing sequence
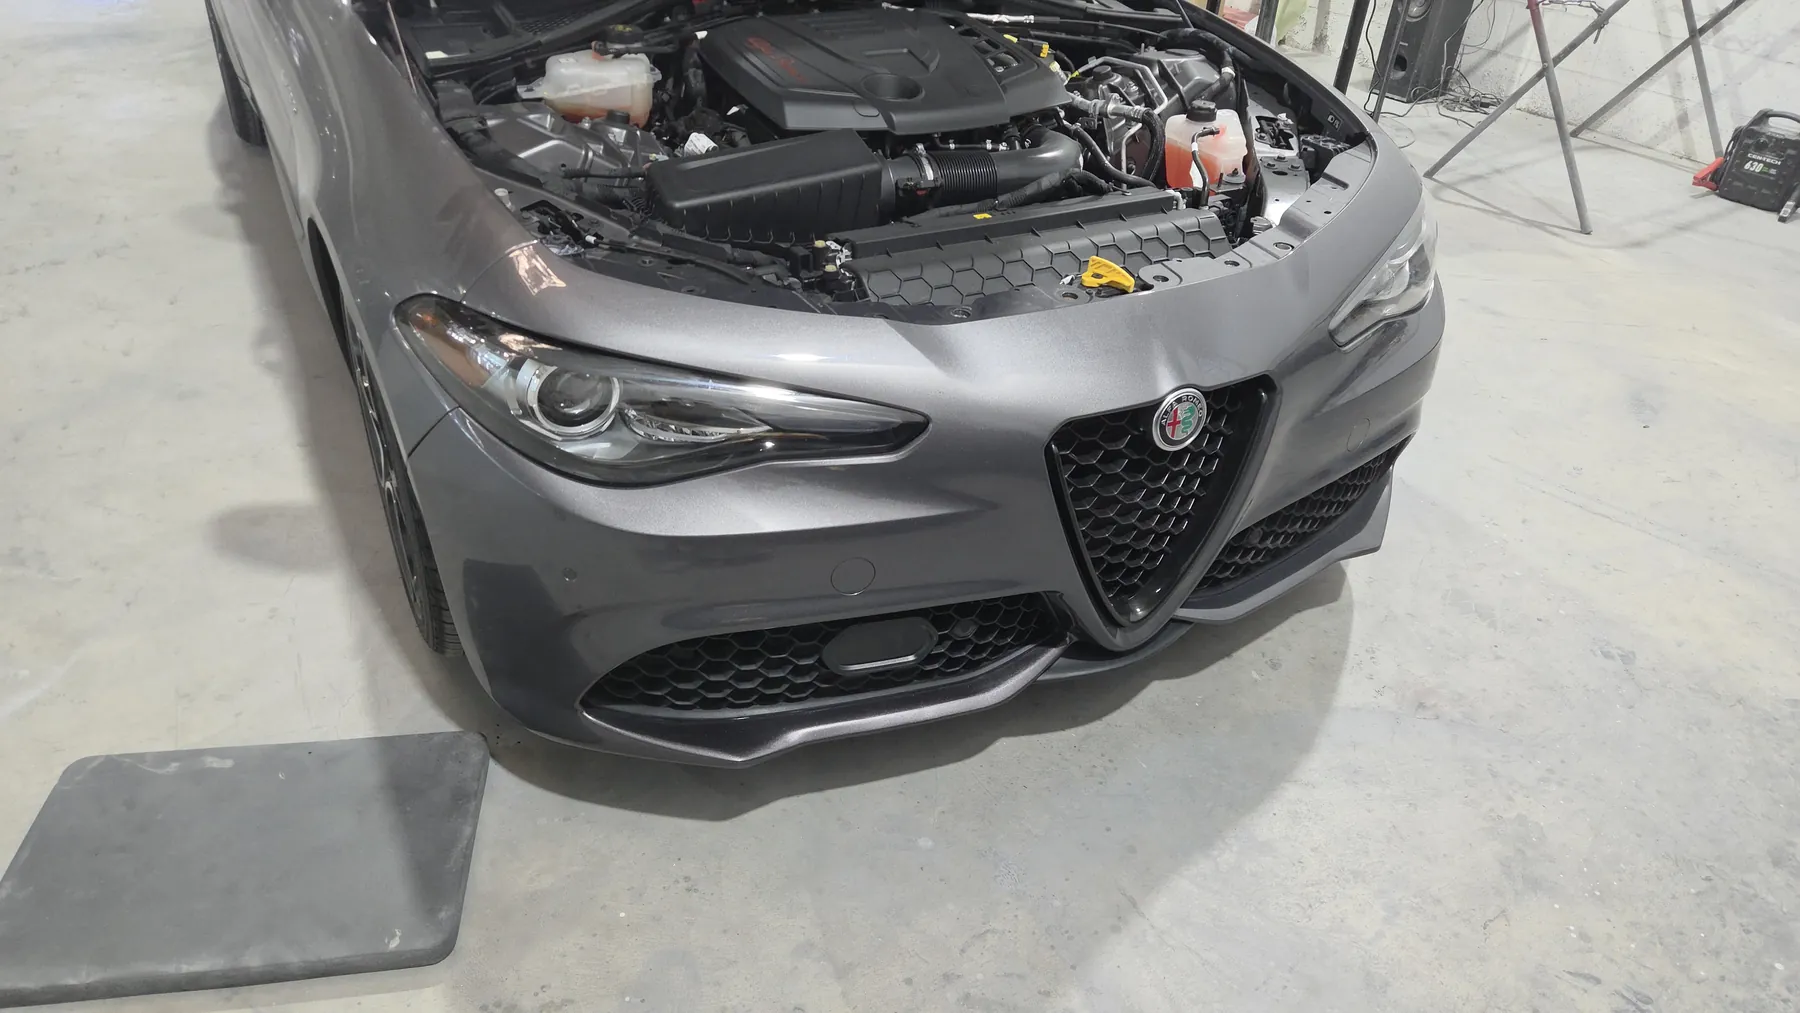
The bumper was removed so the damaged surface could be prepared and refinished. The completed image shows the painted bumper installed on the vehicle with the grille, sensors, and trim in place.
Cosmetic body repair
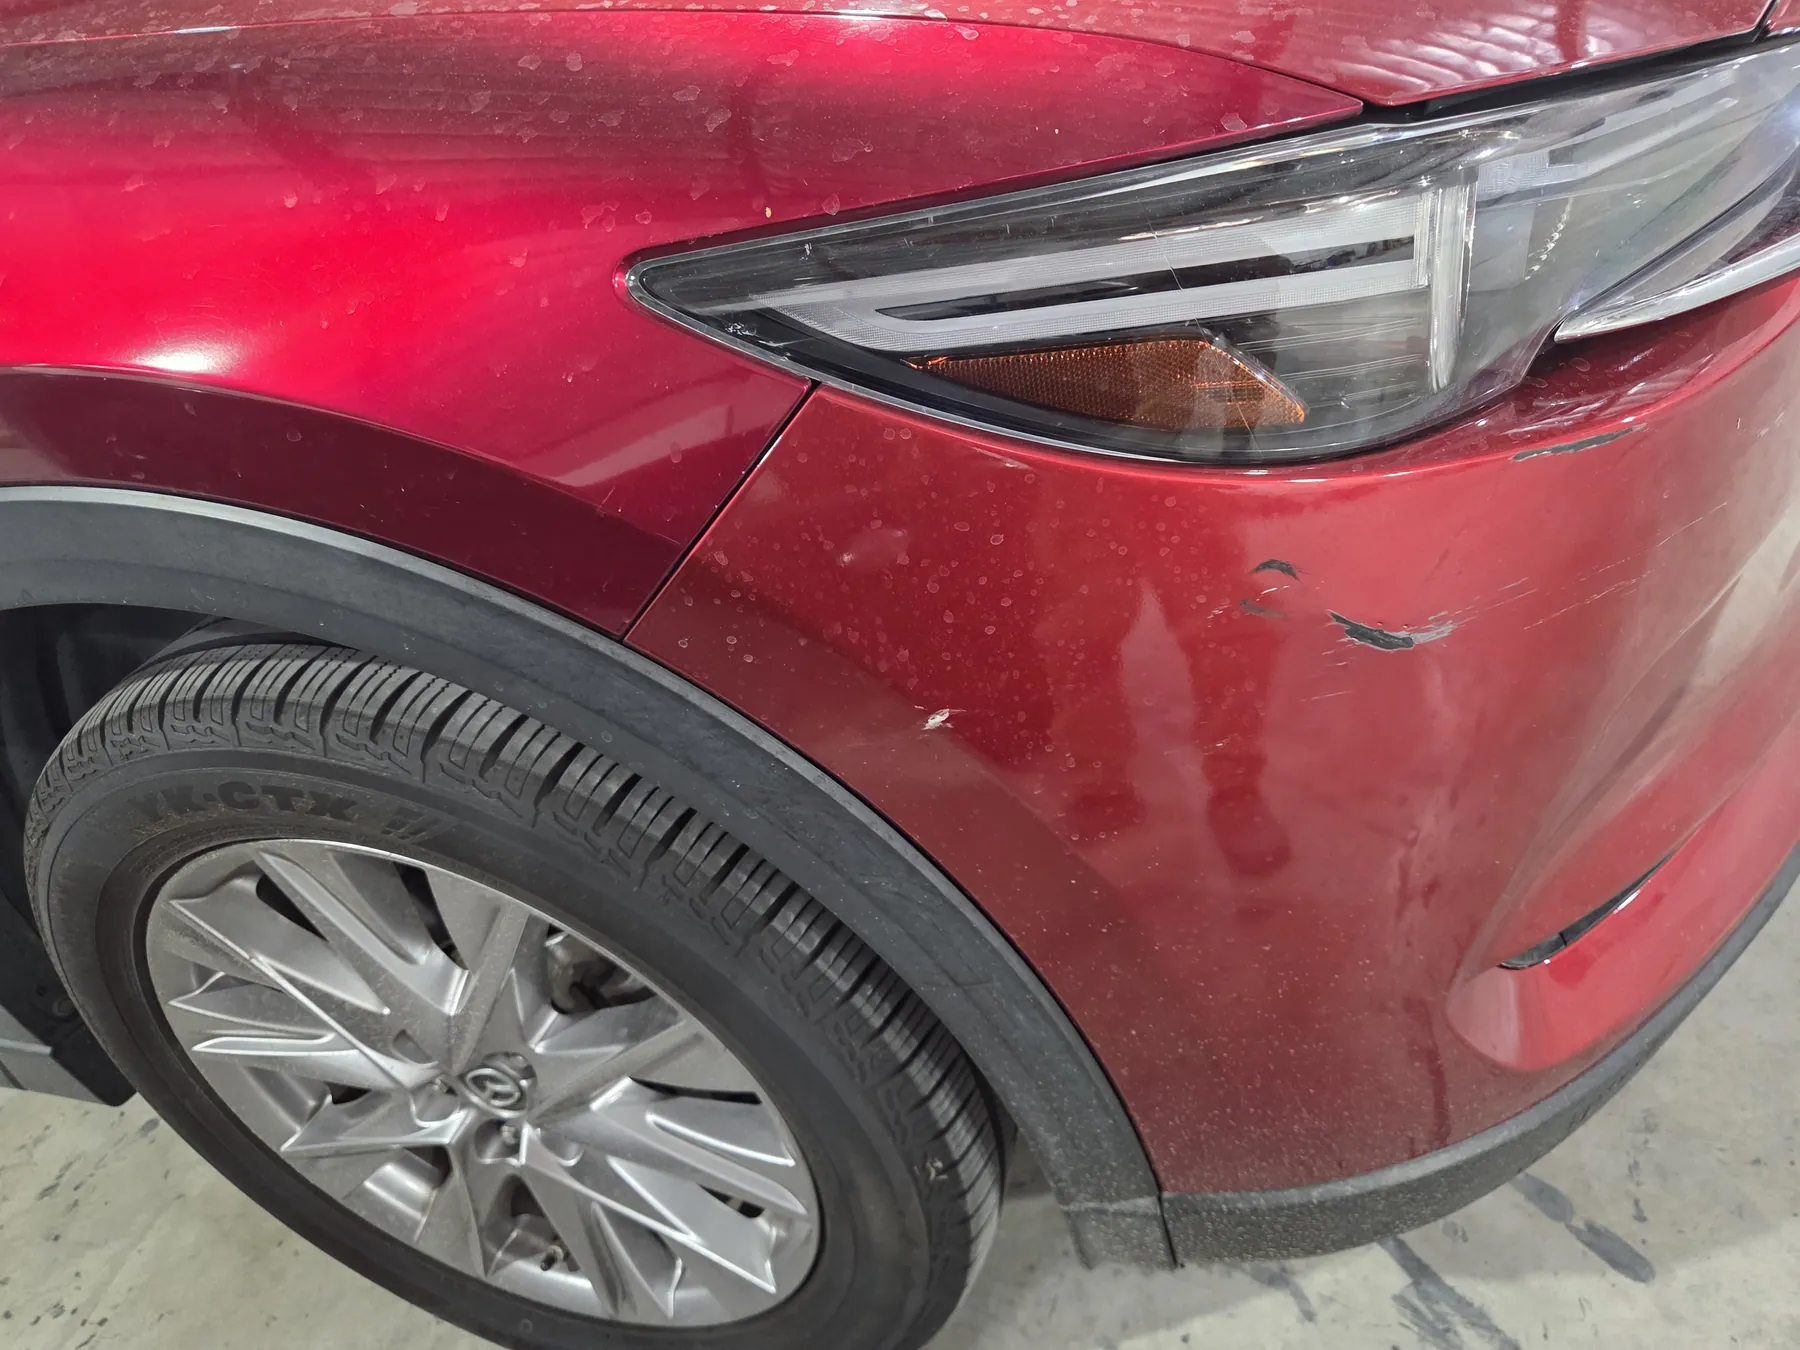
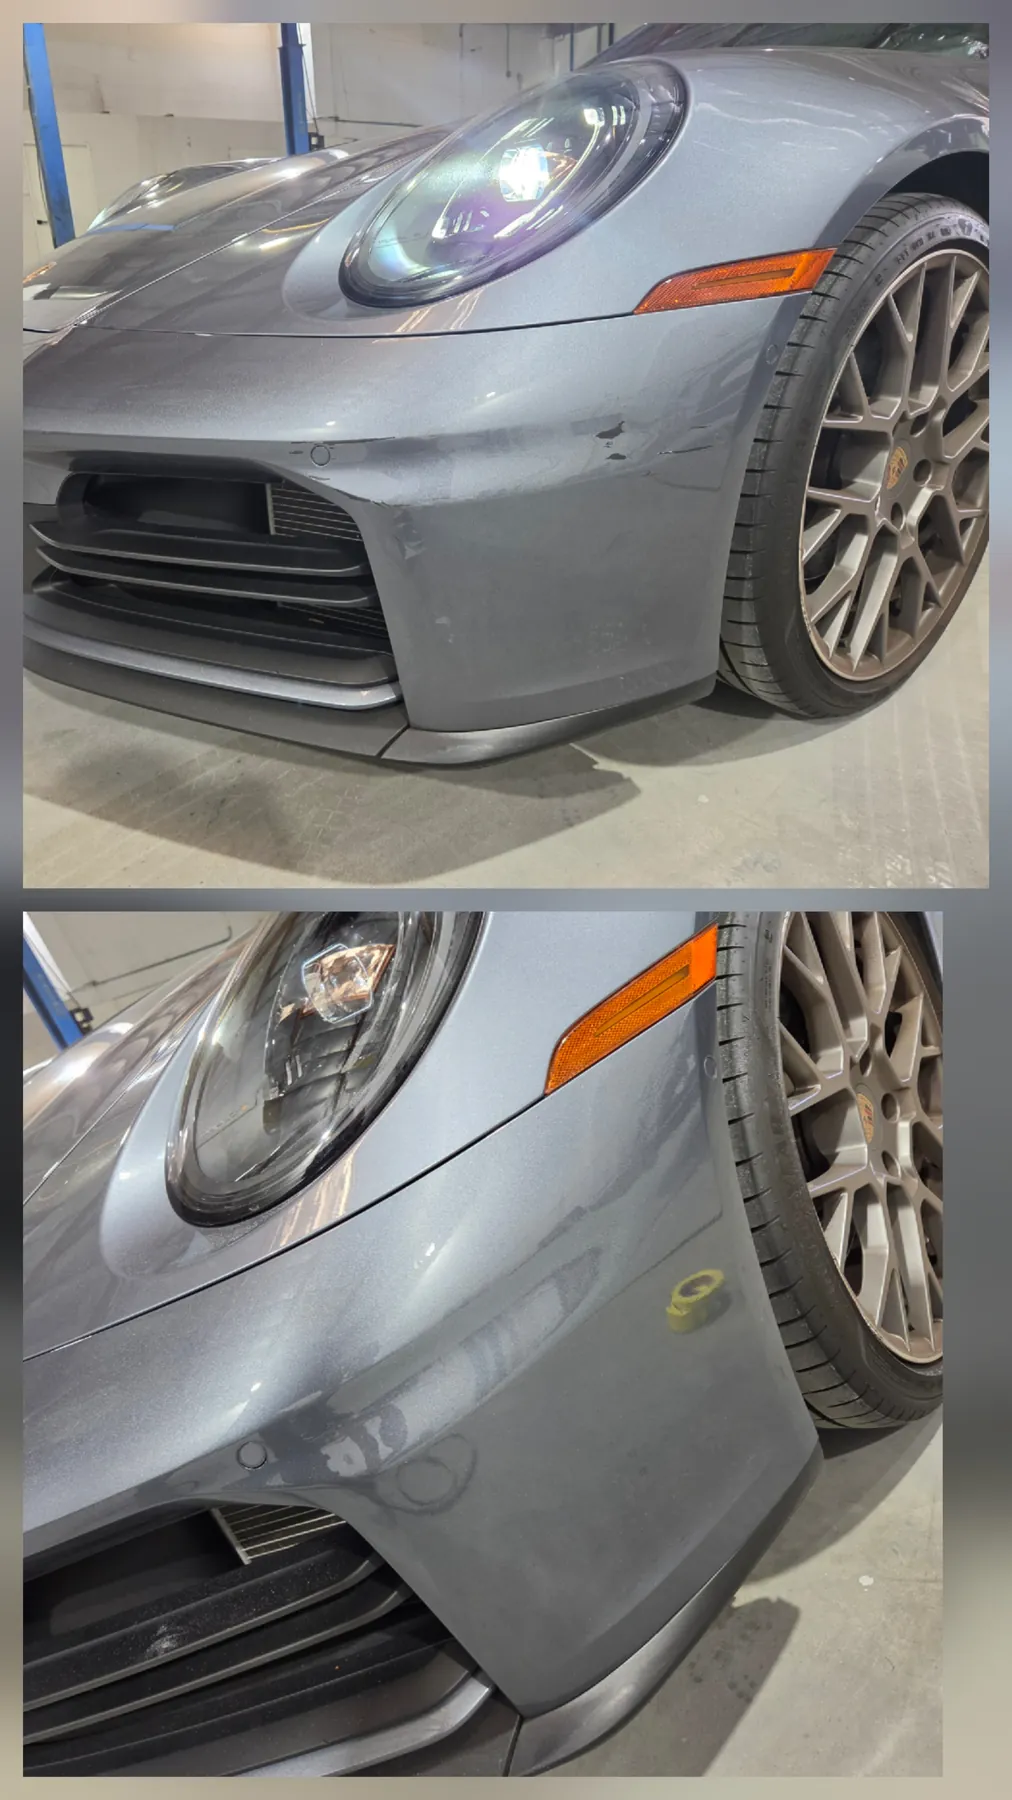
Scrapes and finish damage were concentrated near the headlamp and grille. The comparison documents the starting damage and the restored appearance after the repair.
Textured bumper restoration
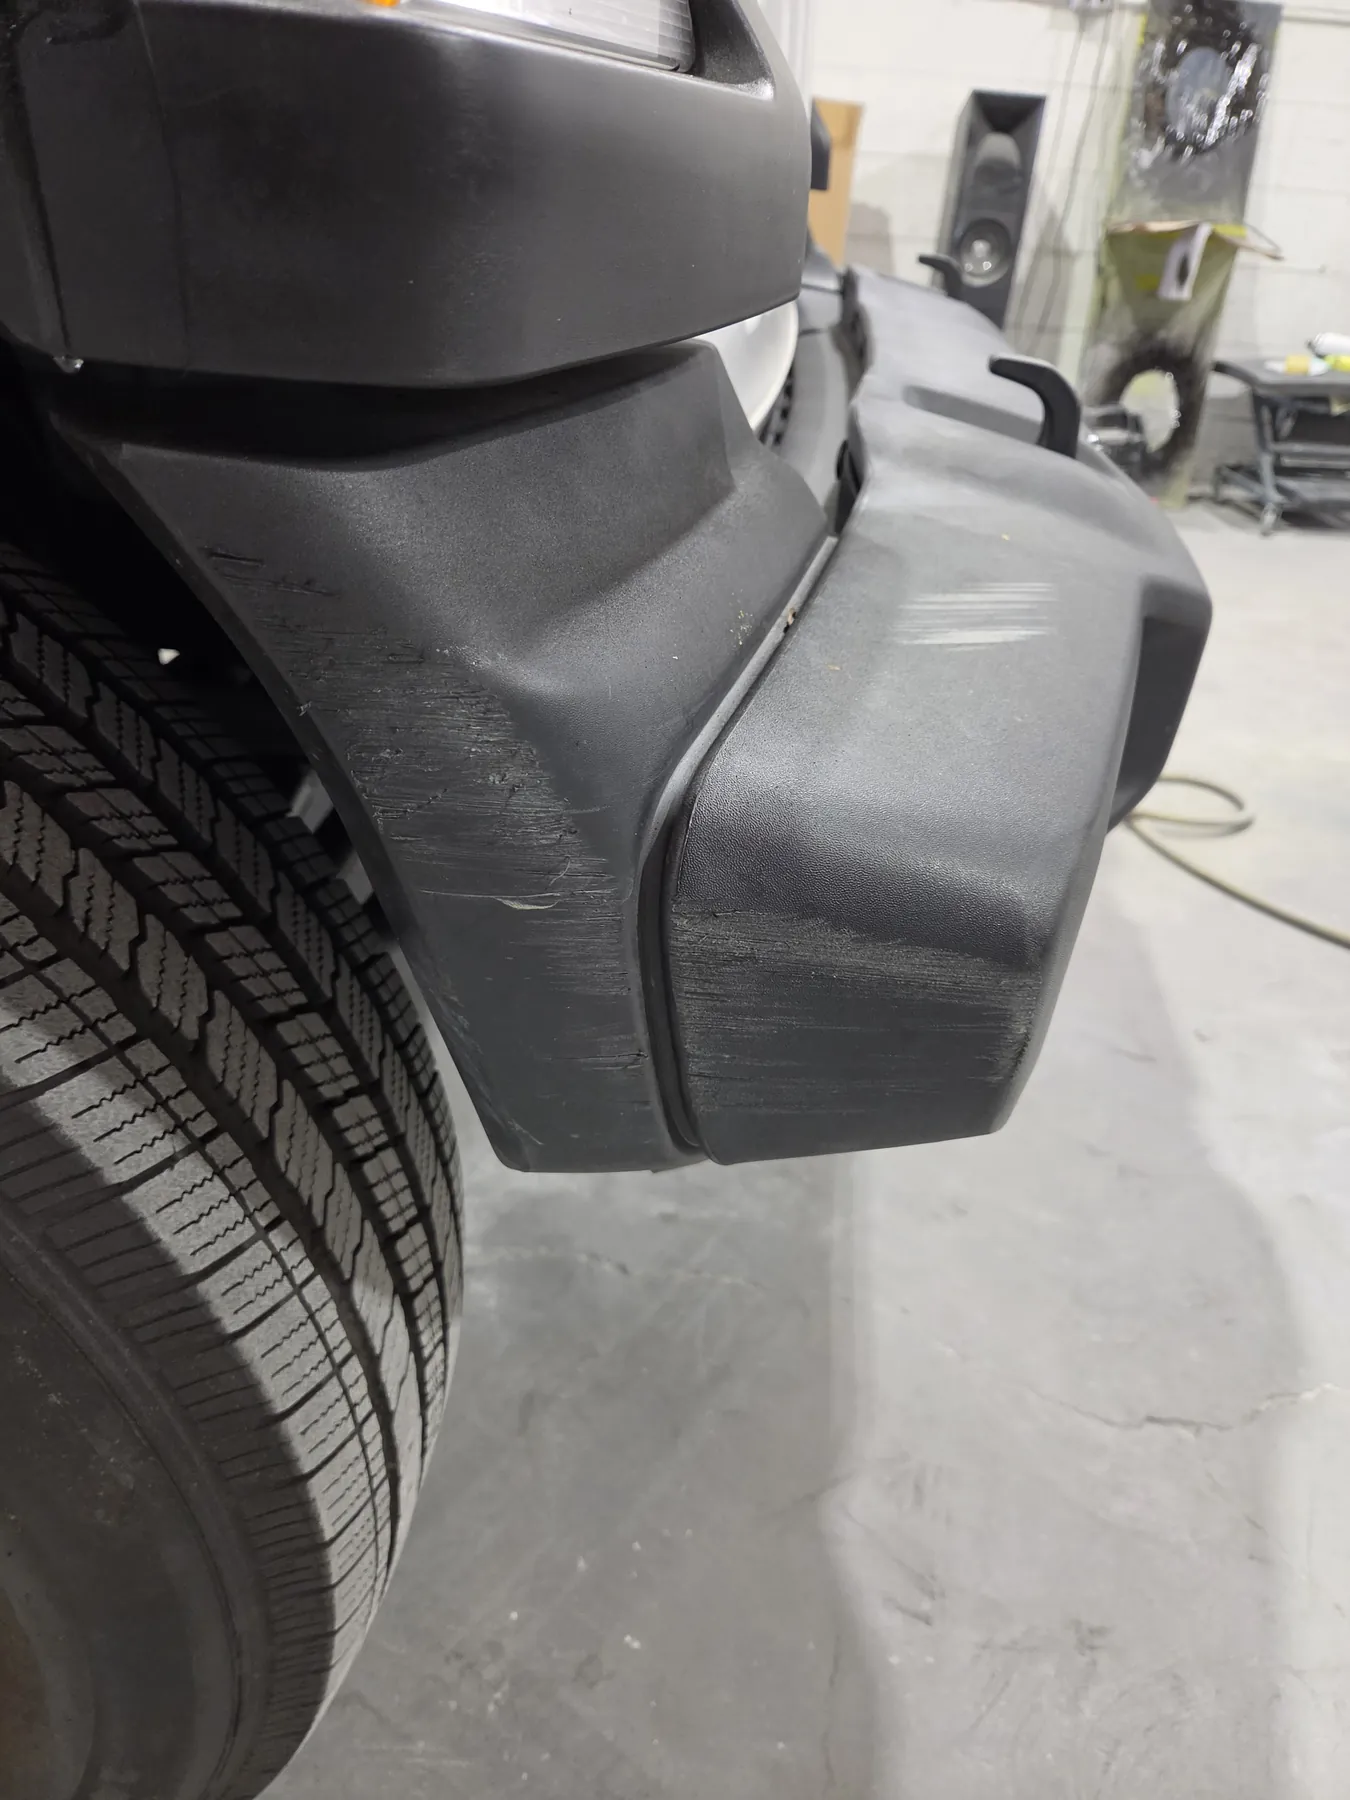
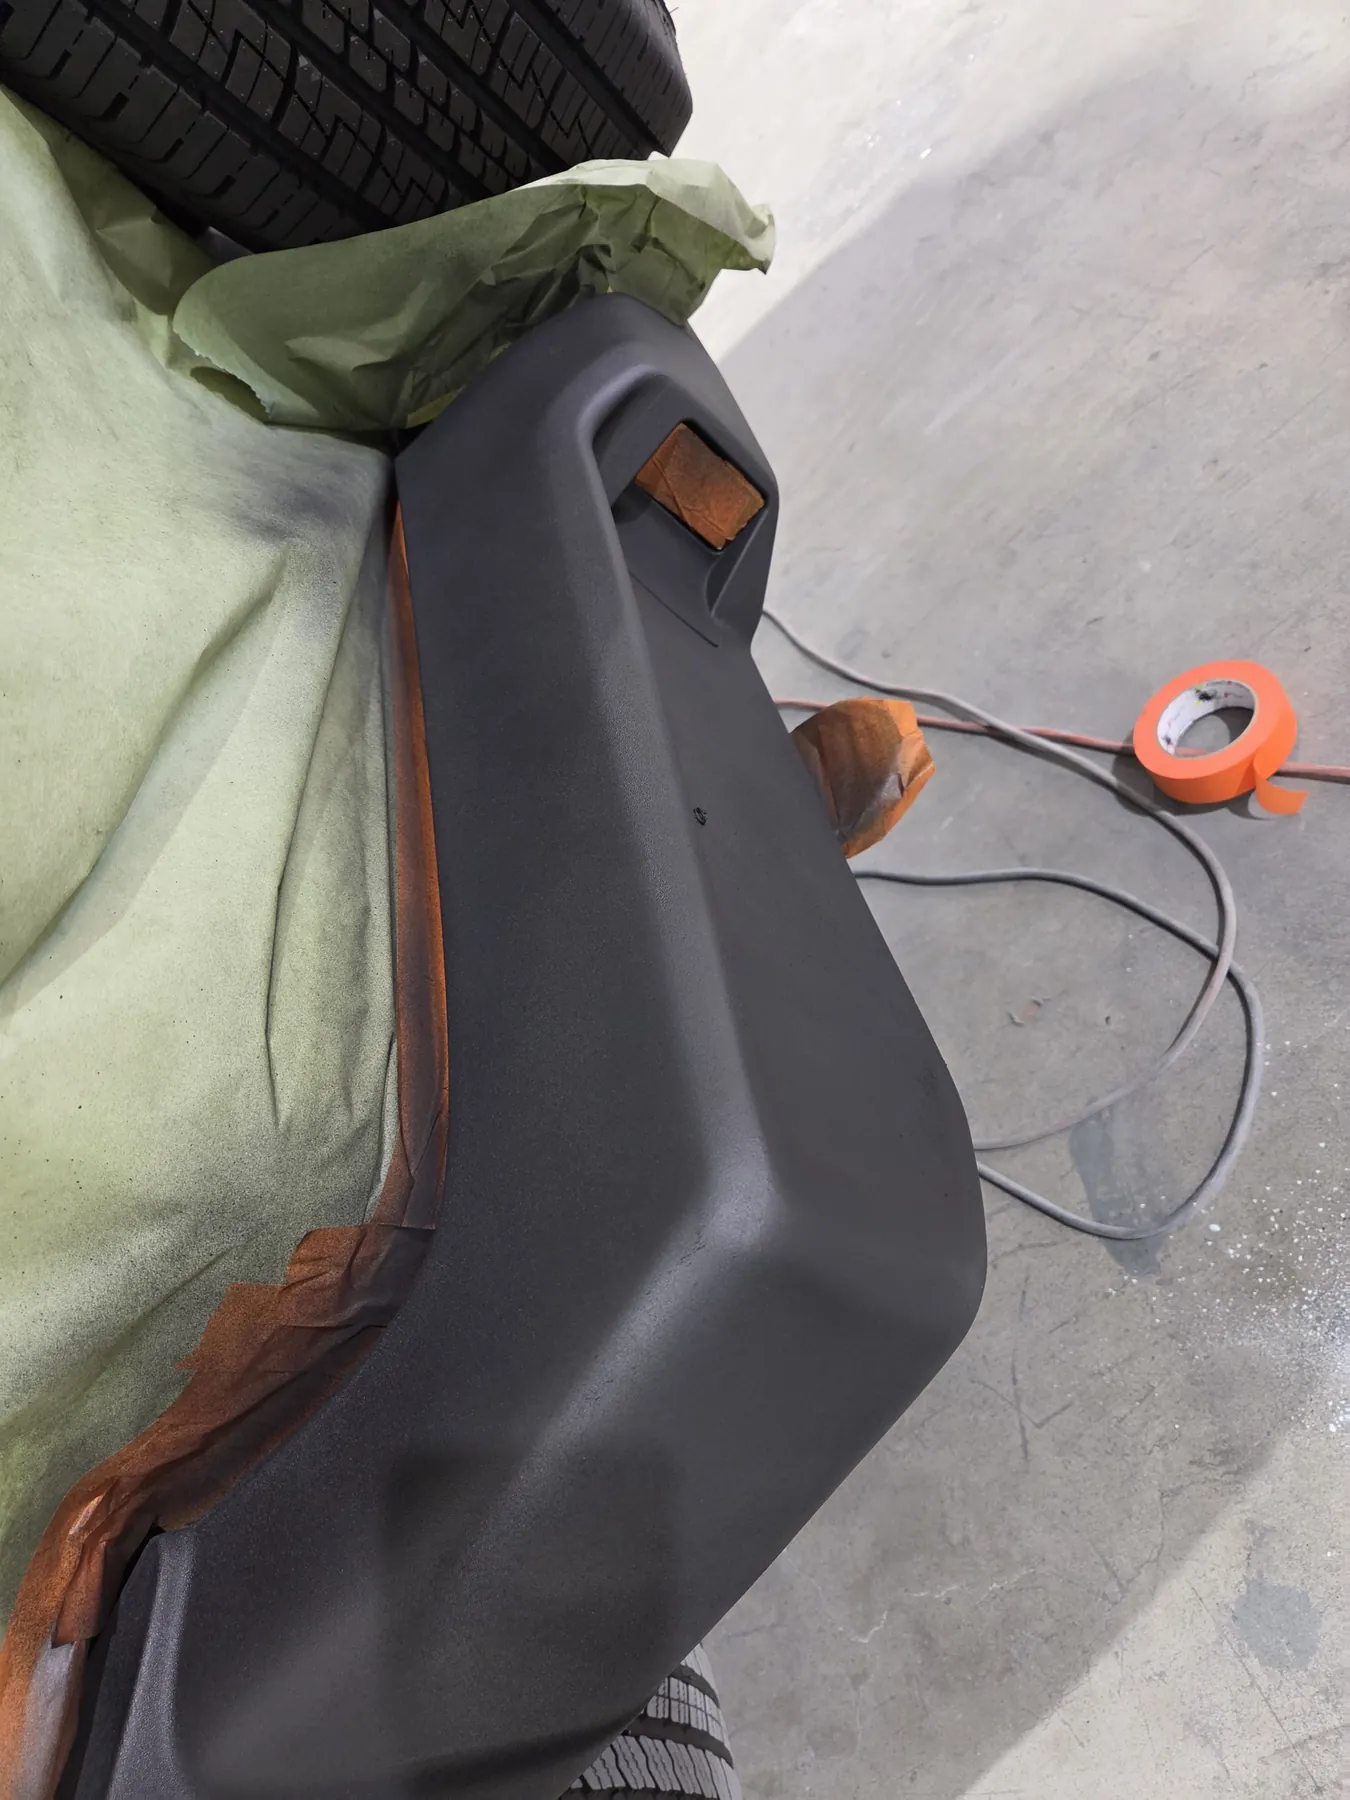
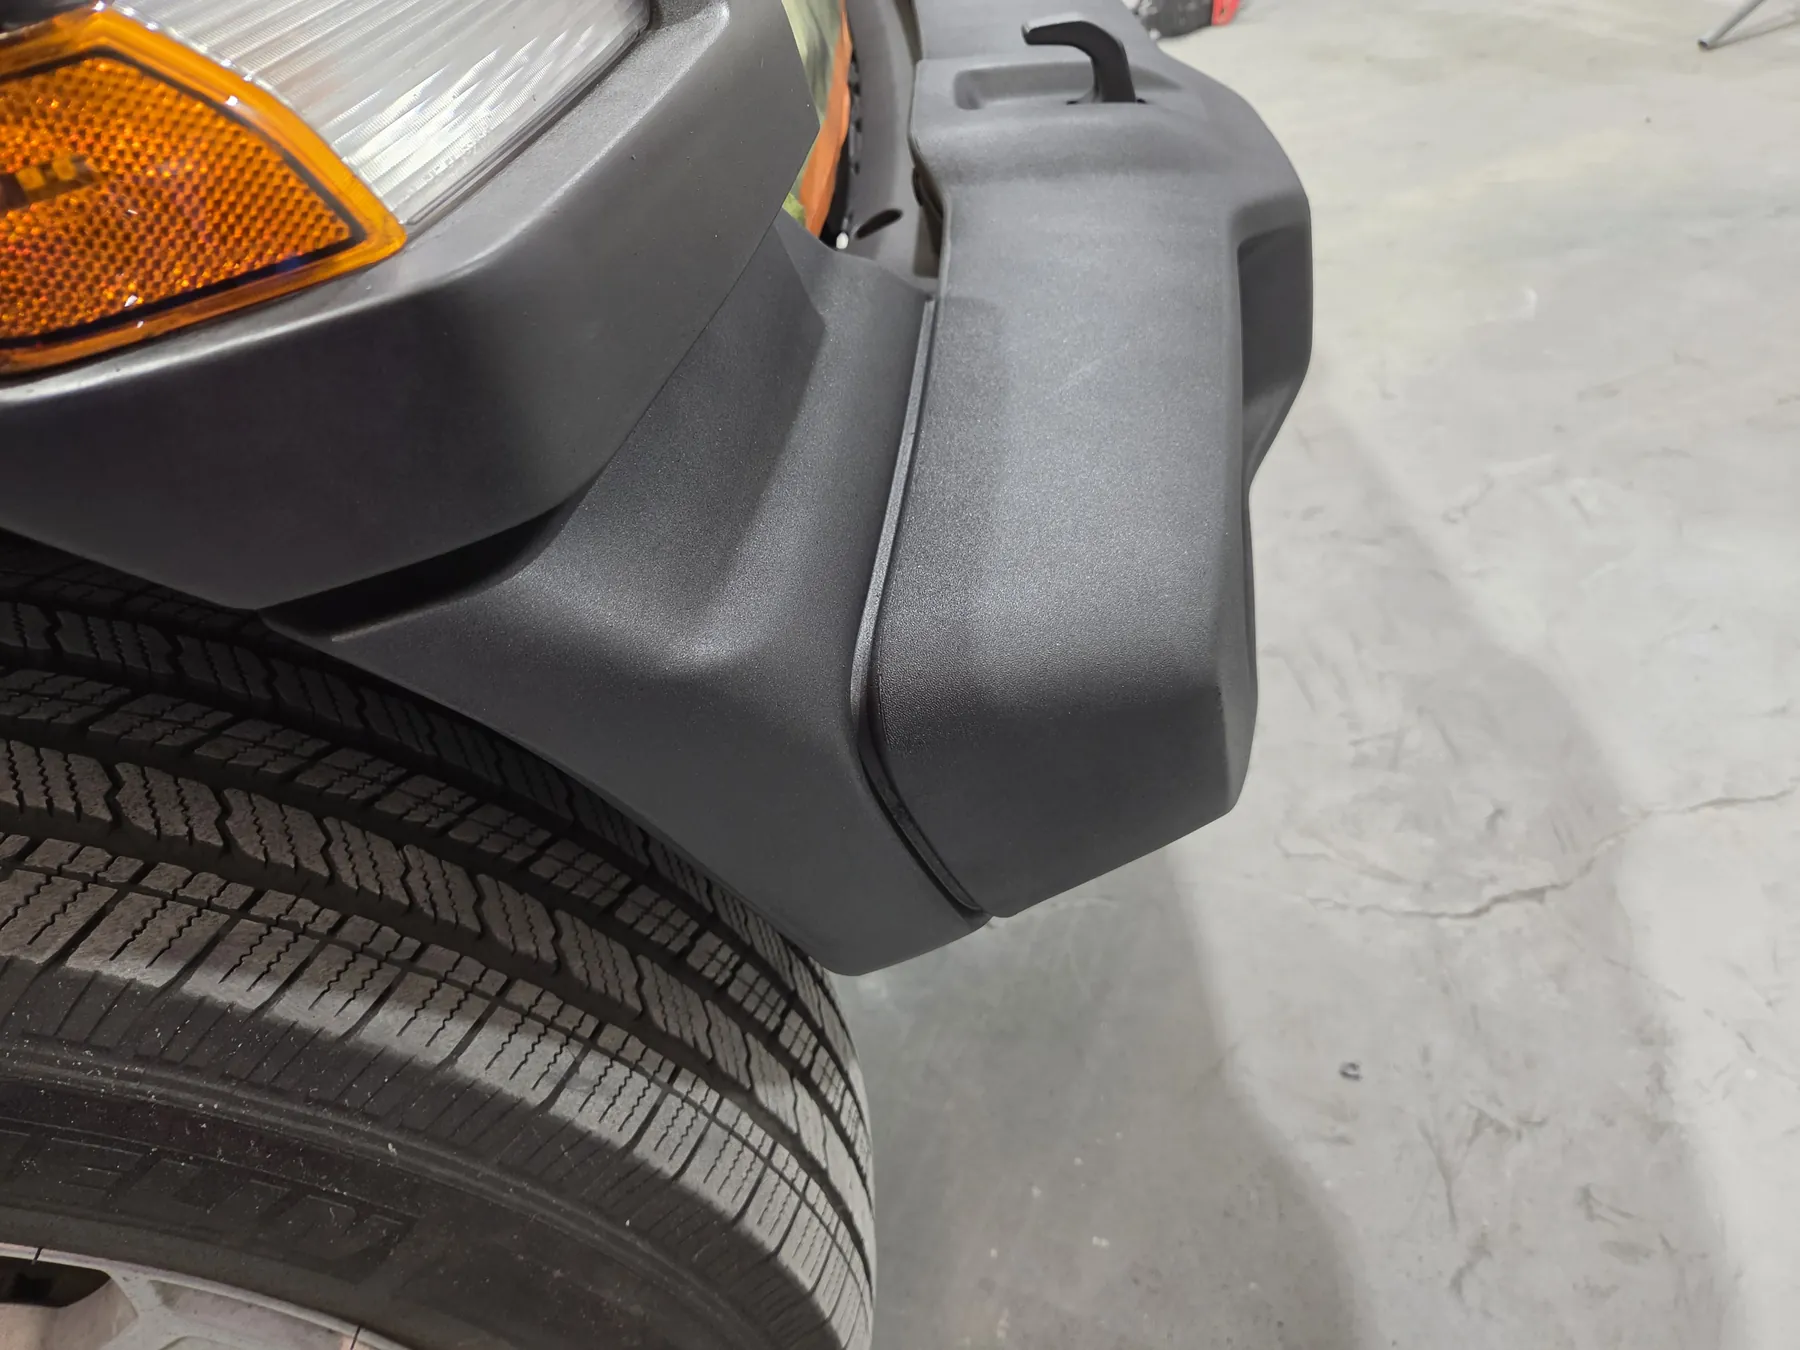
Textured unpainted bumper material requires a different finish approach than a painted panel. This sequence shows abrasions before repair, masking and coating work, and the restored bumper after the process.
More work in progress
These images show panel preparation and refinishing stages rather than unrelated stock imagery. Each repair still begins with an assessment of the actual vehicle.
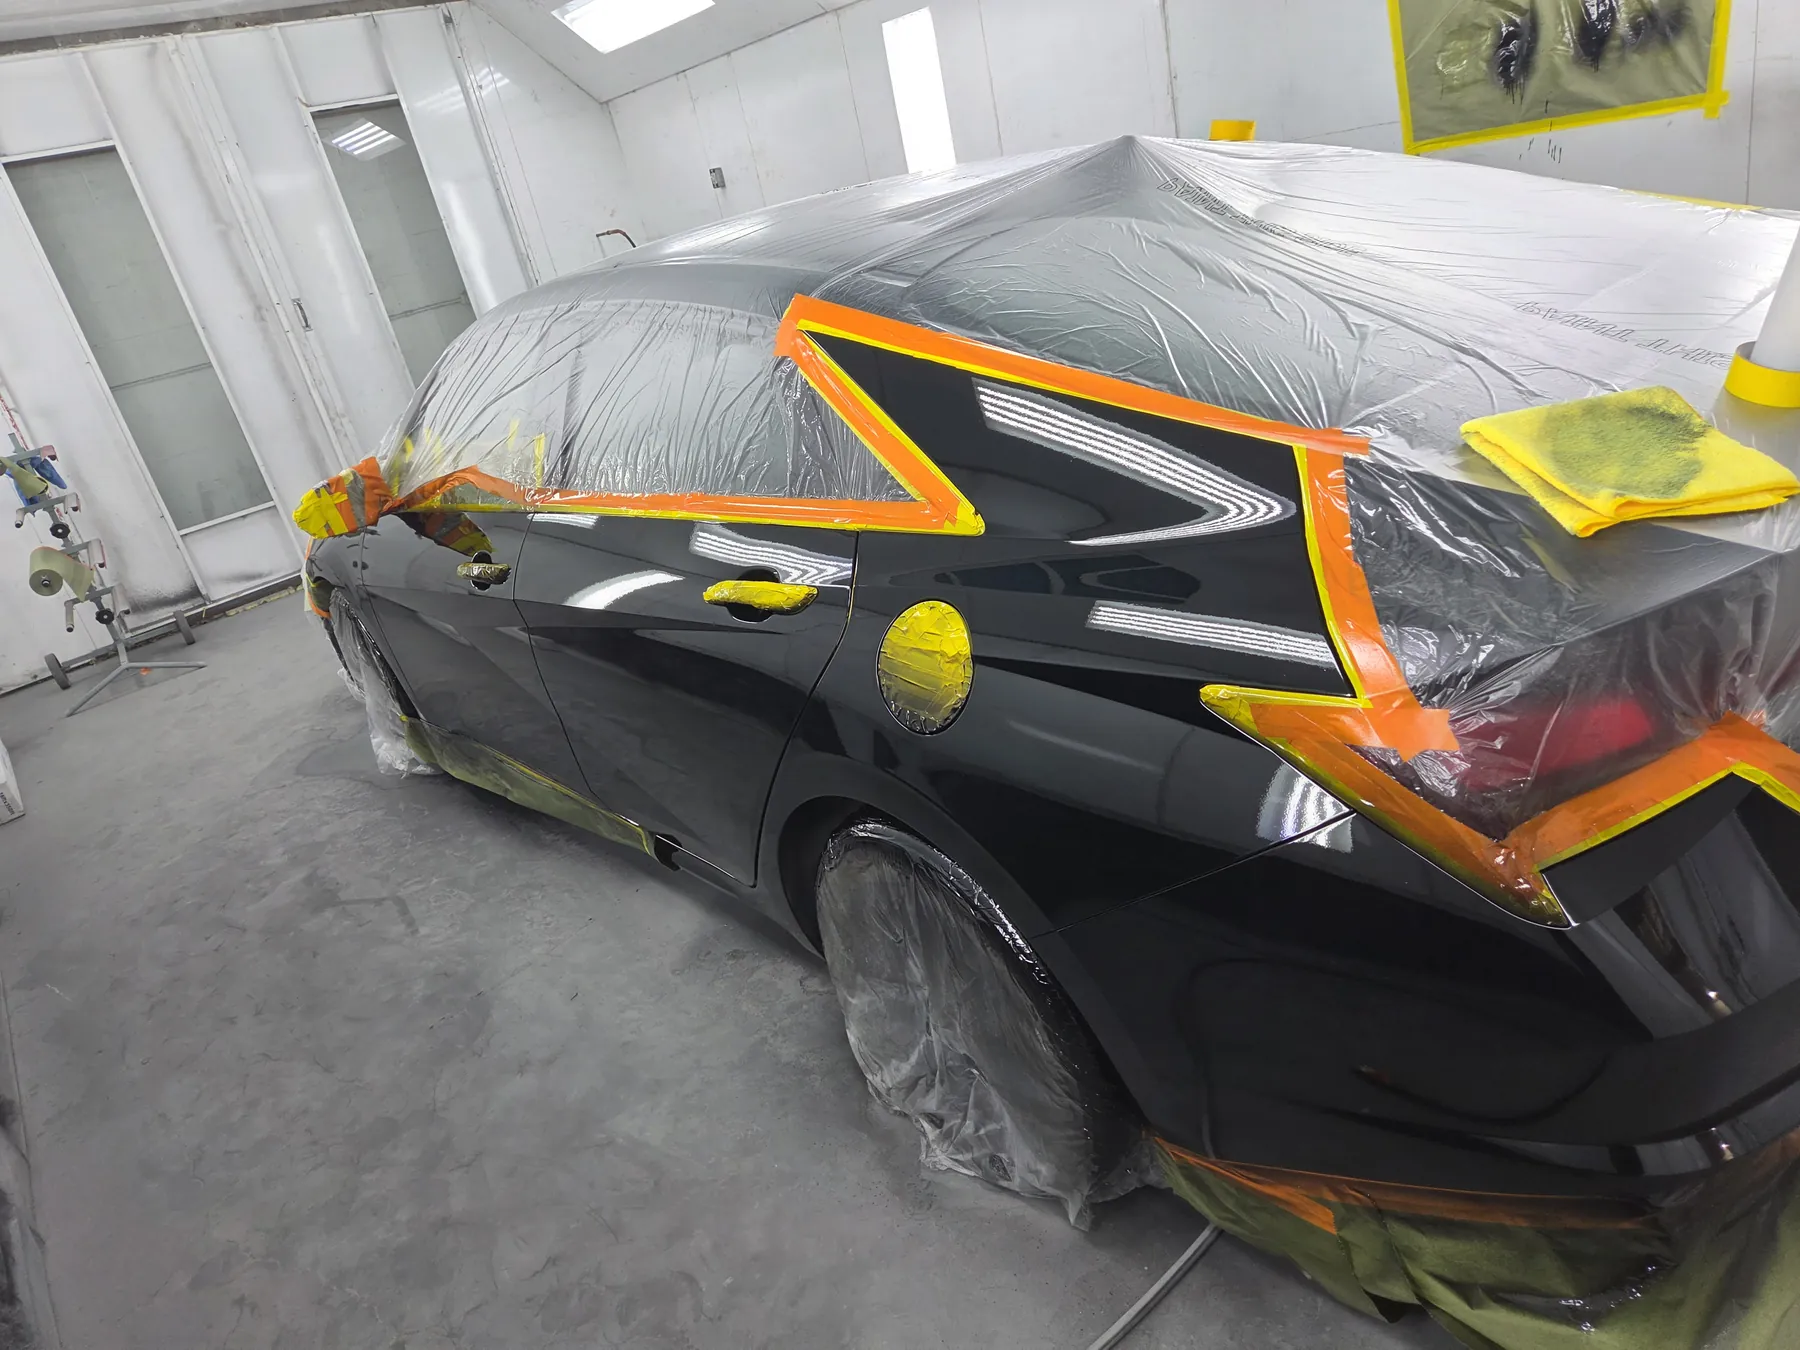
Windows, trim, wheels, and adjacent areas are protected while the prepared panels receive finish work.
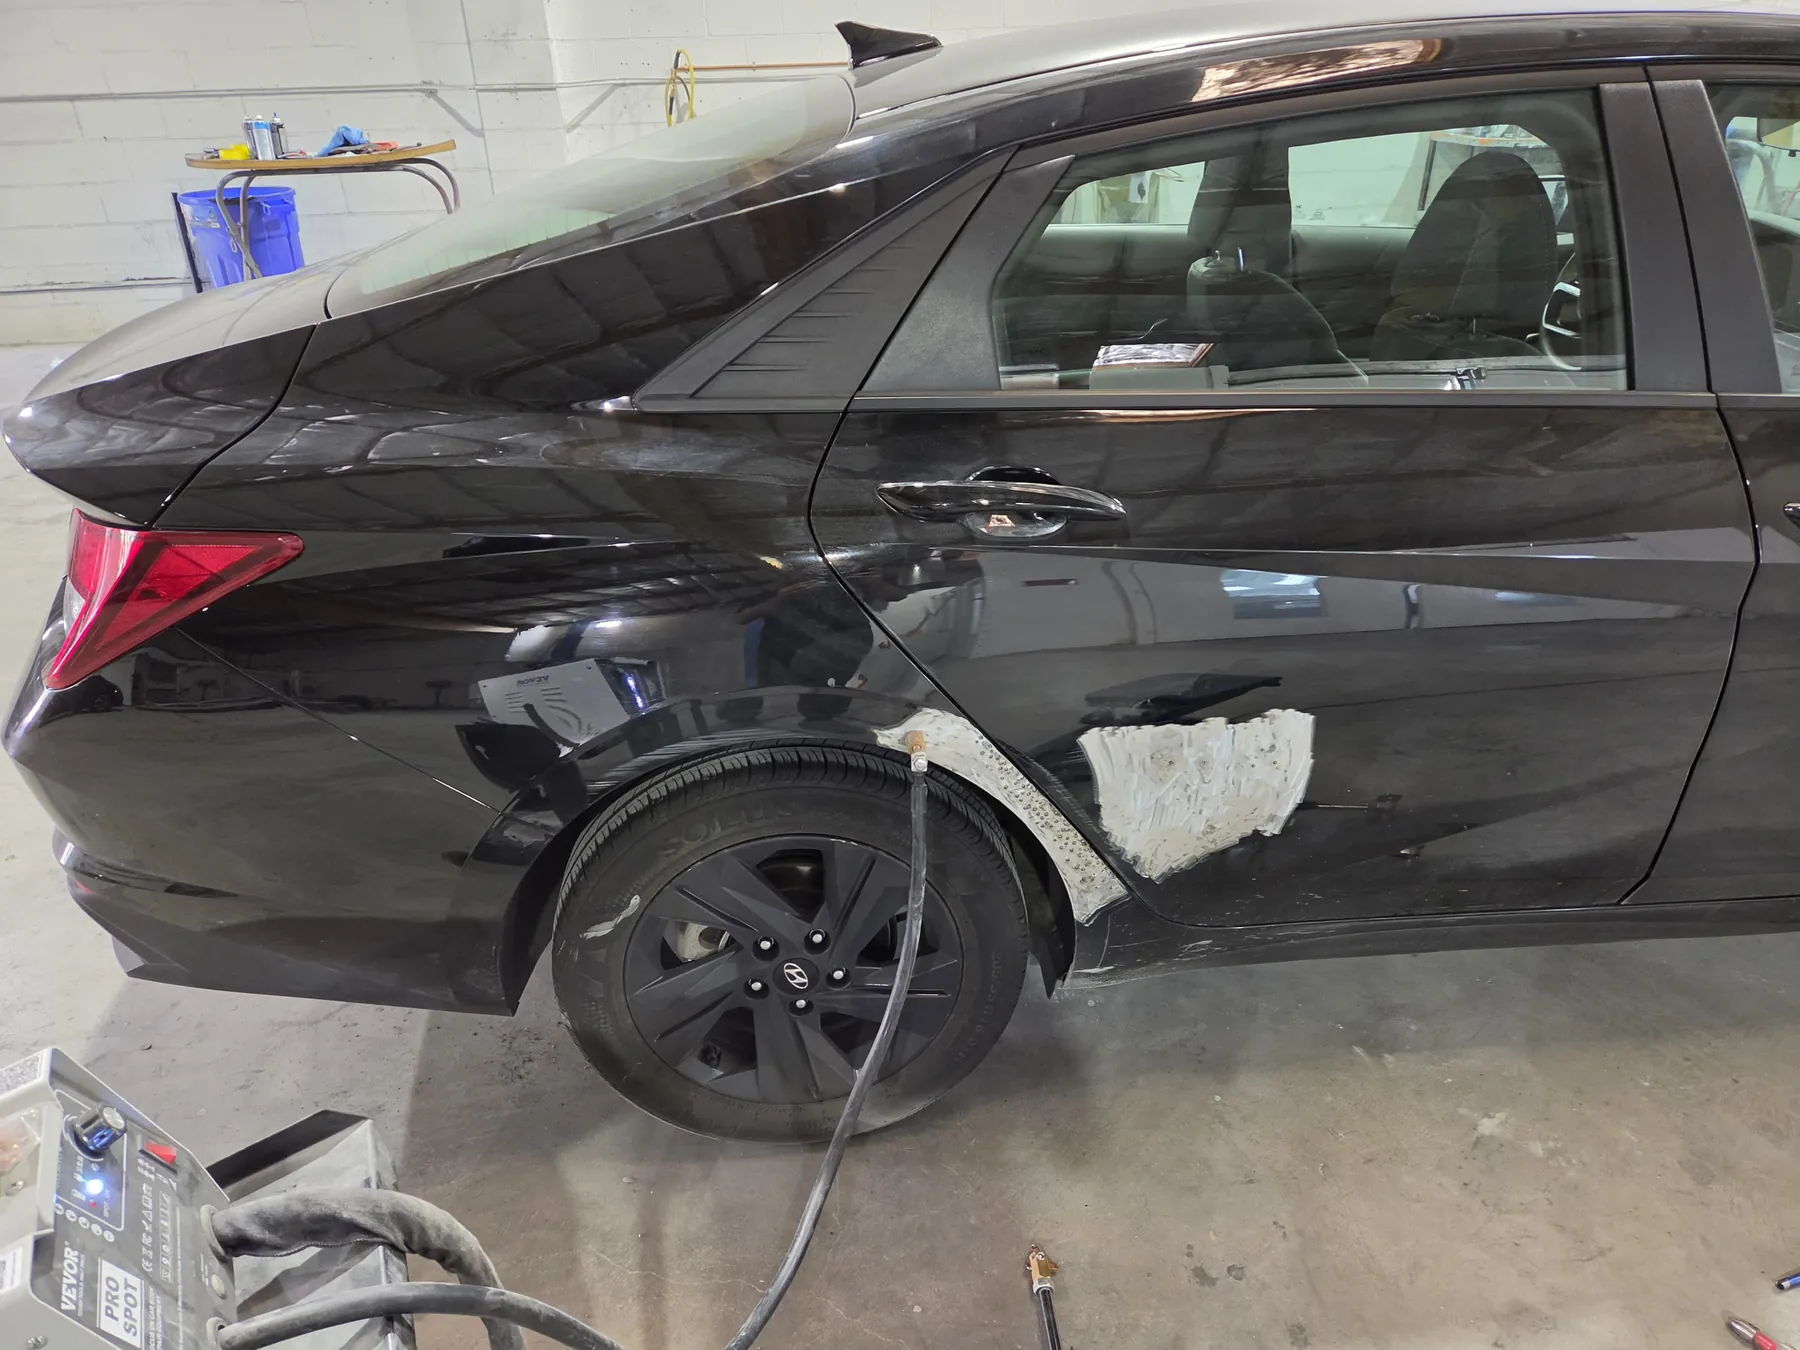
The rear door and wheel-opening area are being shaped and prepared before refinishing.
Your vehicle will need its own repair plan
Photos help document the visible problem, but they do not establish final price, parts, hidden damage, or completion time. Visit the Van Nuys shop or send details to begin a free estimate.